
At a Glance
- factory reset a MacBook removes all personal data.
- Newer models use the built-in Erase All Content and Settings assistant.
- Older Macs require a multi-step process including signing out of Apple services, resetting NVRAM, and reinstalling macOS.
**Why it matters: A clean slate protects your privacy and ensures the next owner starts fresh.
MacBook owners who are upgrading to the latest M5 MacBook Pro or simply want to clear performance issues often overlook a crucial step: erasing personal data before handing the device off. Whether you’re selling, giving away, recycling, or donating, a factory reset safeguards sensitive information and provides a blank slate for the new user.
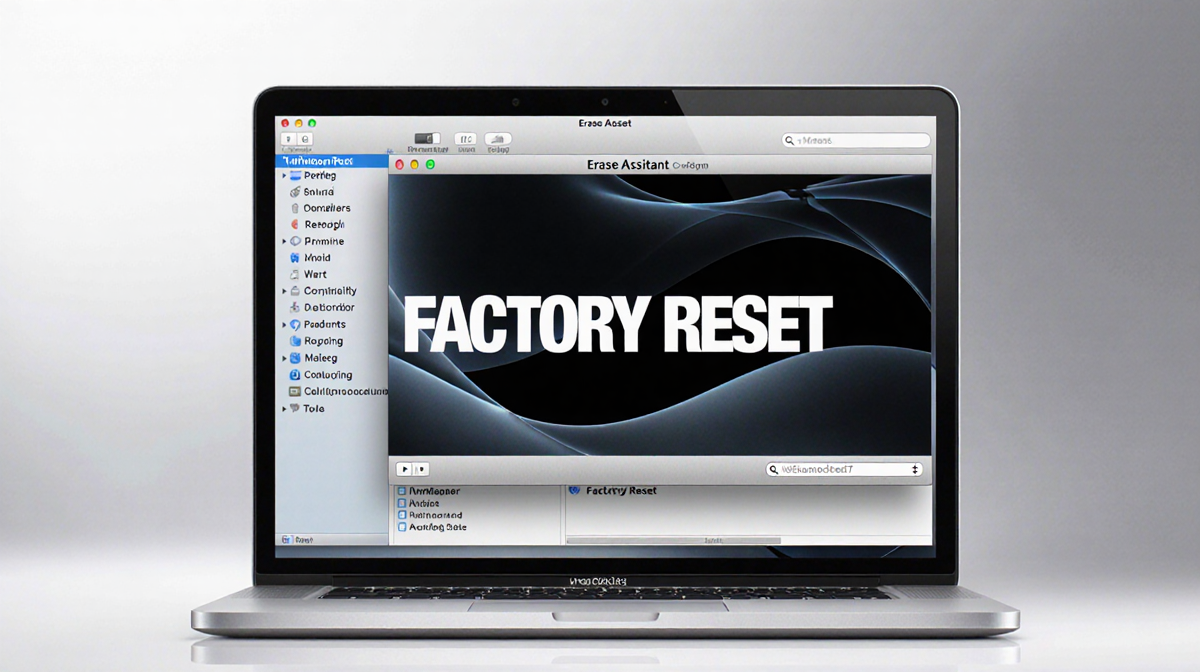
Factory Reset on Modern MacBooks
If your MacBook runs MacOS Monterey or later and has either Apple Silicon or a T2 chip, the process is straightforward.
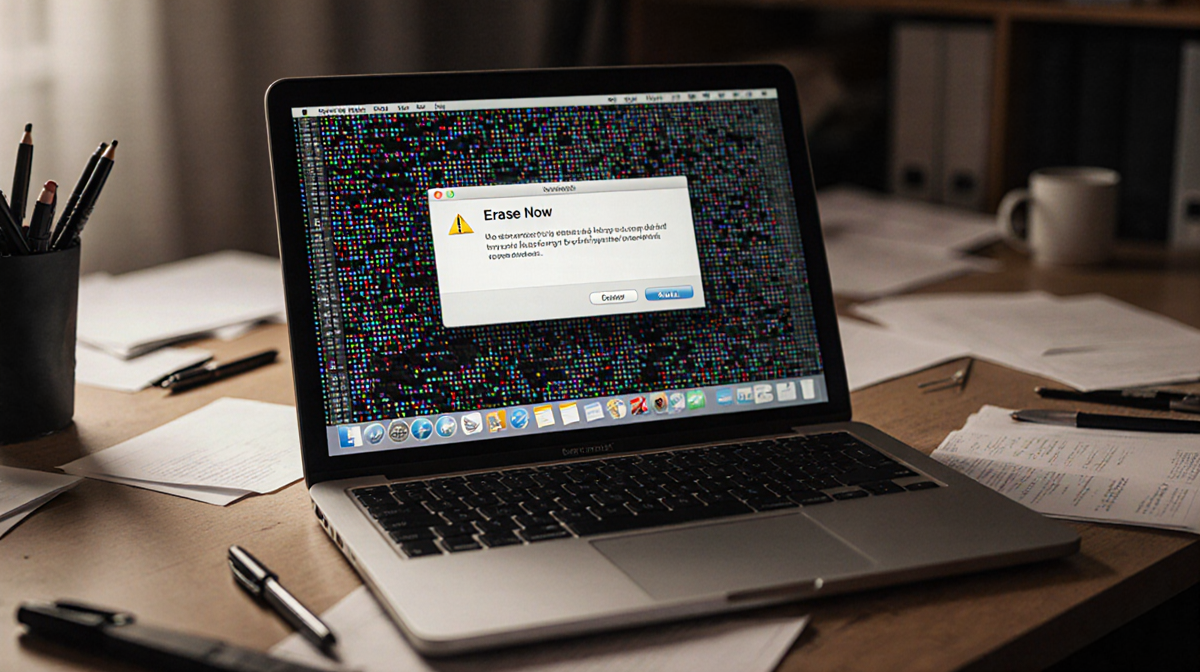
1. Open the Erase Assistant
- On MacOS Ventura or newer, click the Apple icon, select System Settings, then General > Transfer or Reset > Erase All Content and Settings.
- On MacOS Monterey, click the Apple icon, choose System Preferences, then Erase All Content and Settings.
If the option is missing or an error appears, you likely have an older model and should follow the older-Mac instructions below.
2. Review and Backup
The assistant displays a summary of what will be erased. You’ll be prompted to enter your administrator password and Apple ID to sign out of Find My Mac. If you haven’t backed up yet, pause to copy data to an external drive.
3. Confirm Erasure
A confirmation window warns that data will be permanently deleted. Select Erase All Content & Settings to proceed. The Mac restarts, shows a progress bar, and may ask you to reconnect to Wi-Fi. Once complete, the Activate Mac screen appears, indicating the device is ready for a new owner.
Factory Reset on Older MacBooks
Older Intel-based or early Apple Silicon Macs lack the built-in assistant, requiring a more involved workflow.
1. Sign Out of Apple Services
| Service | Sign-out Steps |
|---|---|
| iTunes (Music, TV, Books) | Open any app → Account > Authorizations > Deauthorize This Computer → Enter Apple ID and password |
| iCloud & Find My Mac | System Preferences > Apple ID → iCloud → Uncheck Find My Mac → Overview → Sign Out |
| Messages | Messages → Preferences → iMessage → Sign Out |
2. Unpair Bluetooth Devices
Navigate to System Preferences > Bluetooth, hover over each paired device, click the X, and confirm removal.
3. Reset NVRAM
Shut down the Mac, then power it on while holding Option + Command + P + R for about 20 seconds. Release the keys; the NVRAM resets.
4. Enter Recovery Mode
- Intel: Restart and hold Command-R until the Apple logo appears.
- M1/M2: Hold the power button until the startup options window shows, then click Options > Continue.
5. Erase the Startup Disk
In the macOS Utilities window, choose Disk Utility → Continue. Select the startup disk (usually Macintosh HD). Click Erase, set:
- Name: Macintosh HD
- Format: APFS (or Mac OS Extended (Journaled) if the drive is mechanical).
After erasing, quit Disk Utility.
6. Reinstall macOS
Back in the Utilities window, select Reinstall macOS and follow on-screen instructions. Once installation finishes, the Setup Assistant launches; you can quit it and shut down, leaving the Mac ready for the next owner.
Factory Reset Without a Password
If you’ve forgotten your MacBook’s password, you can still reset the device. The steps mirror the older-Mac process from step 4 onward. Note that you cannot back up data after losing the password, so regular backups are essential.
Key Takeaways
- Newer Macs (Monterey + Apple Silicon/T2) use Erase All Content and Settings for a quick wipe.
- Older Macs require signing out of Apple services, resetting NVRAM, erasing the disk in Recovery Mode, and reinstalling macOS.
- Always back up before erasing; once data is deleted, it cannot be recovered.
- Resetting NVRAM and Bluetooth pairing ensures the new owner starts with clean settings.
- A factory-reset MacBook protects your privacy and provides a smooth transition for the next user.
By following these steps, you can confidently remove all personal data and hand off a MacBook that’s as good as new.