
This guide is a quick 3 min read that shows how to breathe new life into old photos with Adobe Firefly, a step-by-step process that covers digitization, AI colorization, and restoration.
At a Glance
- Adobe Firefly can automatically colorize, patch, and restore faded images.
- The workflow begins by scanning or photographing the original photo.
- Detailed prompts and refinements fine-tune the final result.
- Why it matters: It turns years of manual restoration into a quick, accessible workflow for anyone.
The author is a freelancer based in Echo Park, Los Angeles, and a former senior editor. She now teaches as a Professor of Practice at Arizona State University’s Walter Cronkite School of Journalism and Mass Communication. Her background spans tech, fashion, health, lifestyle, entertainment, and education, and she hopes to prevent the singularity by being polite to chatbots.
Why Restore Old Photos?
Old photographs hold memories that can feel forgotten when they sit in drawers. Restoring them can rekindle emotions and preserve family history. Generative AI makes the process faster and more accessible, especially for those without advanced editing skills.
Getting Started: Digitizing Memories
- Scan the photo with a high-resolution scanner to capture fine detail. Use at least 300 dpi and save in PNG or TIFF format for maximum quality.
- If a scanner is unavailable, place the image on a flat surface and take a well-lit photo with a camera or phone. Avoid shadows and reflections.
- Keep the photo flat and free of shadows to avoid distortion during processing. A level surface and even lighting produce the best source material.
Choosing the Right AI Tool
Many AI systems claim to colorize and restore photos, but Adobe Firefly was chosen for its ability to generate and patch images and for its integration with Photoshop. Even users with minimal Photoshop experience can use Firefly as a bridge to further edit their restored photos. The tool can automatically remove text, patch cracks, and adjust lighting, making it a versatile choice for a wide range of restoration tasks.
Step-by-Step Guide with Adobe Firefly
| Step | Action | Notes |
|---|---|---|
| 1 | Upload photo | One photo at a time |
| 2 | Prompt with details | Specify spots, text, etc. |
| 3 | Refine output | Adjust prompt for colors and tones |
| 4 | Handle adlibs | Add constraints like square crop |
| 5 | Stage the process | Separate lighting, blemish removal, then colorization |
Upload Photos

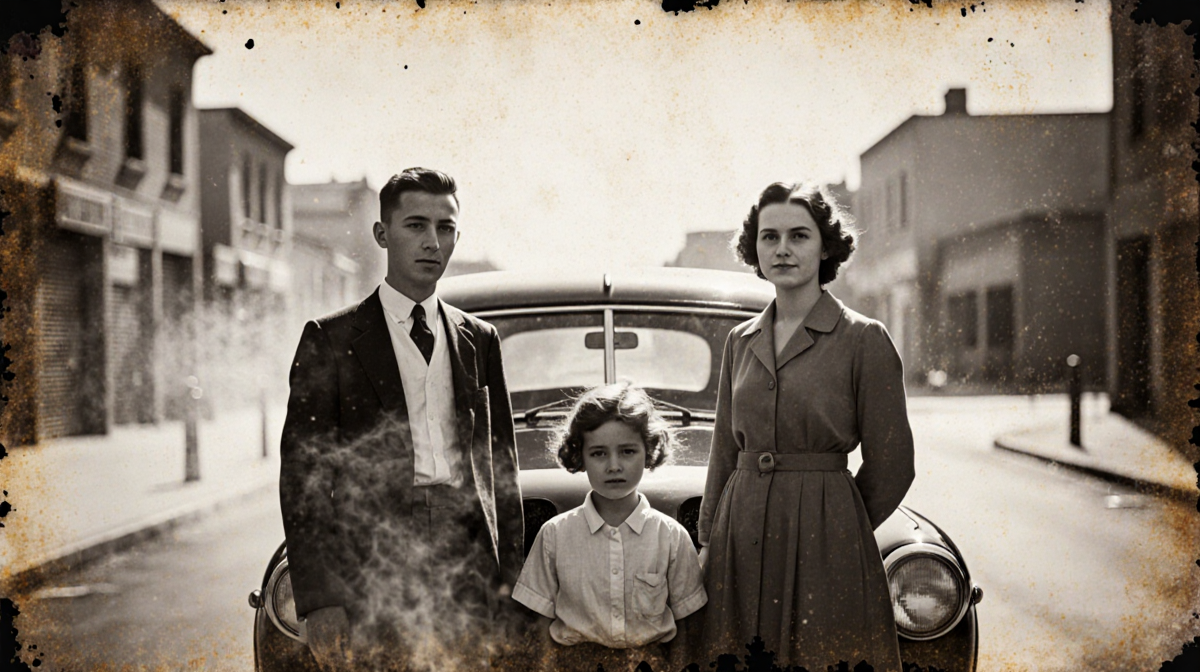
Editing one photo at a time is recommended. The example set includes images of a father and a grandmother that have suffered decades of wet damage and brittle aging.
Give Specific Instructions
Identify dark spots, creases, cracks, and water damage. Include notes on what to keep and what to remove. For instance, two images contain text; the prompt was set to crop out the text.
Make Refinements
AI outputs are rarely perfect on the first try. One image needed further prompting to correct eye color and tones. Adjust the prompt until the desired result appears.
Watch Out for Adlibs
Firefly sometimes changes the composition on its own. In one case, the AI turned a square photo into a circular crop. Adding “keep the photo square” to the prompt fixed the issue.
Go Stage-by-Stage
Trying to fix everything at once can produce a completely new image. A staged approach works better. First, ask Firefly to enhance lighting and remove blemishes, crop, and rotate the photo. Then, in a second pass, request colorization of the cleaned image.
Common Pitfalls
- Assuming the AI will keep every detail intact; it may alter or remove subtle features.
- Using overly vague prompts that lead to generic color schemes.
- Forgetting to check the output for unintended changes before saving.
- Relying solely on the AI for text removal; specifying the constraint yields more reliable results.
Advanced Techniques
- Use the “style” parameter in Firefly to emulate specific artistic filters.
- Combine Firefly’s output with manual touch-ups in Photoshop for fine detail.
- Experiment with different prompt lengths to balance specificity and flexibility.
Integration with Photoshop
Firefly’s integration allows users to open the AI-generated image directly in Photoshop. From there, layers can be adjusted, selective color corrections applied, and final touches added before exporting the finished photo.
Author’s Perspective
The author’s experience spans nearly two decades of writing and producing content across diverse subjects. She emphasizes that the emotional labor of restoring photos can be overwhelming, but AI tools reduce the time and effort required. She also notes that the process can be a form of digital storytelling, bringing past moments into present view.
Tips for Best Results
- Use the highest resolution source image you can find. A clean scan or well-lit photo provides the best foundation for AI processing.
- Keep prompts concise but detailed; mention specific elements to preserve. For example, remove text, patch cracks, keep original framing.
- Review each output and adjust the prompt if any unintended changes occur. Iterative refinement is key to achieving a natural look.
- Save the original image separately before making edits. This practice safeguards against accidental loss of source material.
Frequently Asked Questions
- Does Firefly support batch processing? The guide suggests editing one photo at a time to maintain control over each output.
- Can I keep the original photo? Yes, keep a separate copy in its original format before editing.
- Does Firefly automatically remove text? It can, but you may need to specify “crop text” or “remove text” in the prompt for consistent results.
- What file formats are best for upload? PNG or TIFF at 300 dpi provide the highest quality for AI processing.
Final Thoughts
If you have a large archive, digitize all images first to maintain consistency. Once you have clean source material, the AI workflow can be applied to each photo with confidence. The result is a collection of vibrant, restored memories ready for sharing or printing.